Create a Spending Period
Instructions
- Navigate to the Campaigns page by selecting Campaigns from the top navigation menu in the upper right corner.

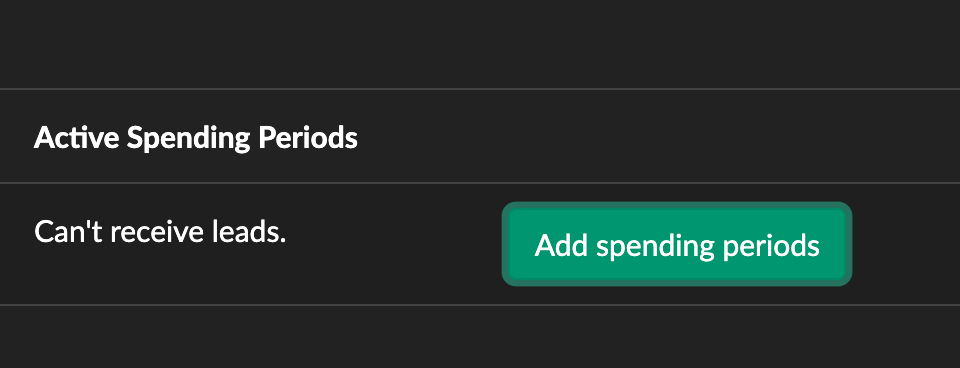
- Click the Add Spending Period button next to the desired campaign to set a schedule for the Campaign.
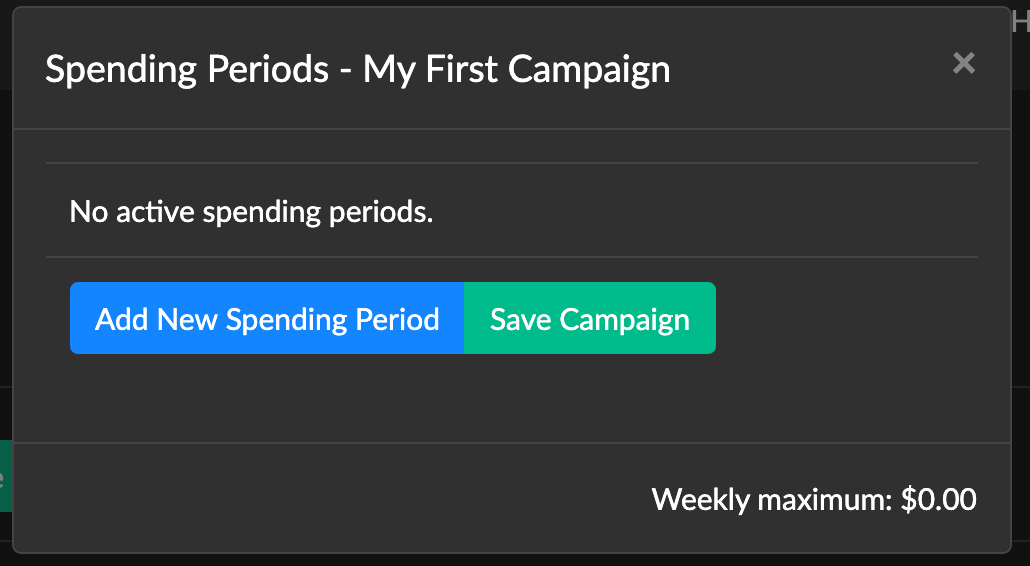
- With the scheduling model open's, click the Add New Spending Period button.
- Each spending period has the following settings:
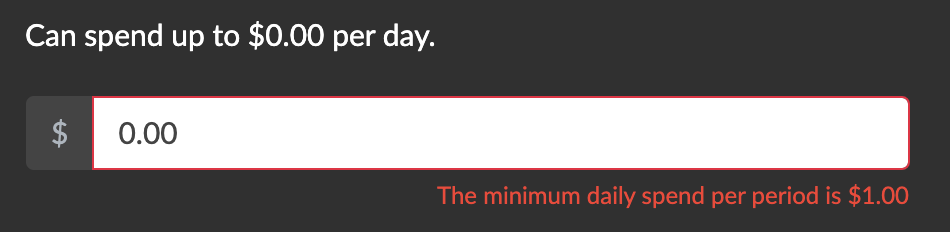
- The maximum amount allowed to be purchased by that campaign during the spending period's timeframe.
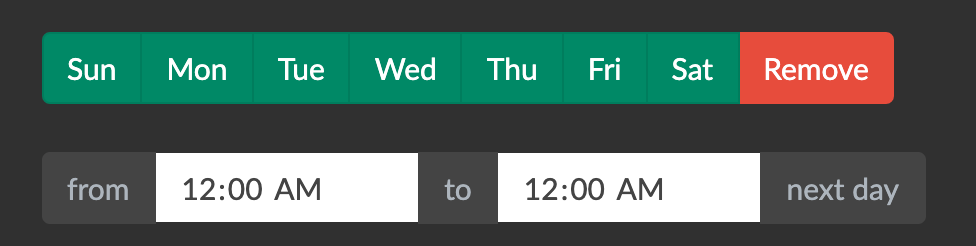
- The days of the week and timeframe during which the campaign is allowed to purchase leads.
- The color green means the day is selected.
- To set the schedule to 24 hours (always on), set the FROM and TO to the same time.
- The lead throttle is optional but recommended for campaigns with a lower spend per day. This is because due to high volumes you may fill your spend more quickly than you would prefer.
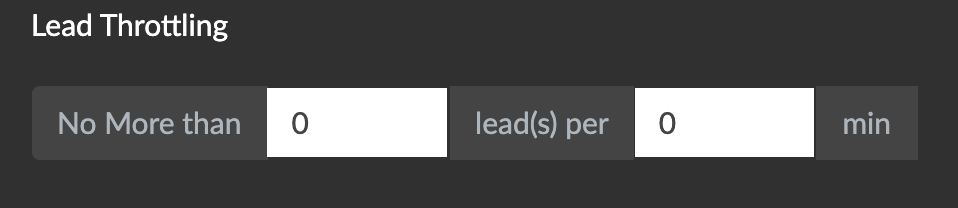 NOTE: Leaving the Lead Throttle with No More than 0 lead(s) per 0 min means the throttle is NOT on and you will receive leads without a throttle.
- The maximum amount allowed to be purchased by that campaign during the spending period's timeframe.
- Once you have completed the settings of the spending period, press the Save Campaign button.
- OR you can click Add New Spending Period to create another spending period for the campaign.
 NOTE: Each campaign can have multiple spending periods, but no more than 3 is recommended.
- OR you can click Add New Spending Period to create another spending period for the campaign.
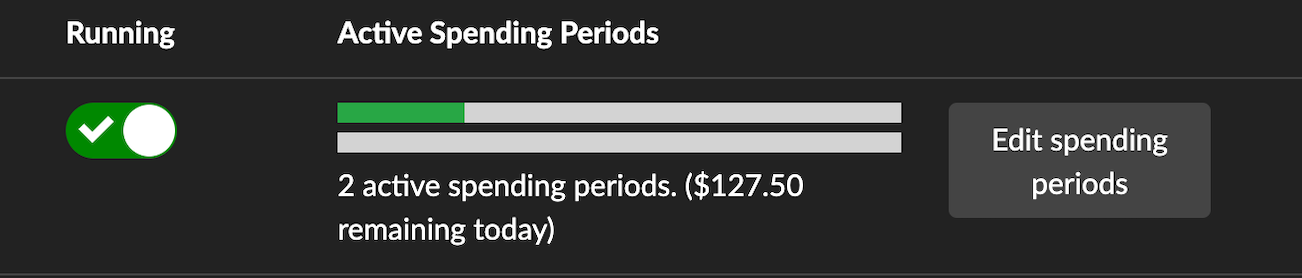
- After you save your spending period, a summary of your spending period will show on your campaign home page.
- When the campaign is unpaused, progress bars show how much of each spending period has been completed.
- When the campaign is unpaused, progress bars show how much of each spending period has been completed.
- Once you have turned on your campaign, you can view your leads on the Leads page.


 NOTE: Leaving the Lead Throttle with No More than 0 lead(s) per 0 min means the throttle is NOT on and you will receive leads without a throttle.
 NOTE: Each campaign can have multiple spending periods, but no more than 3 is recommended.